
SeraTM Cart Assembly
This quick guide provides instructions about how to place and attach the Sera™and accessories on the cart. Follow the cart manufacturer™s instructions to assemble the cart prior to installing the Sera™and accessories.
Installing the cradle
-
Set the cradle on the cart with the front under the fall prevention plate.
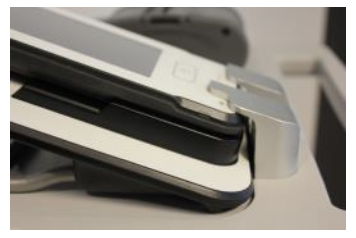
-
Pass the cradle power supply cable through the pass-through hole and connect it to the port on the back of the cradle.
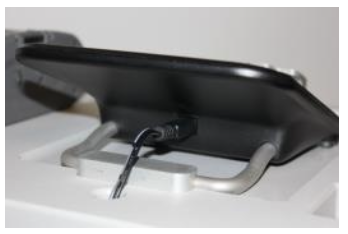
-
Attach the stabilizer plate over the cradle's metal bar and fasten with screws.
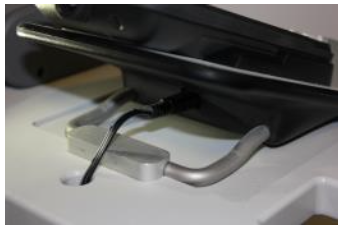
-
Plug the power supply into a power strip1 securing the cables with the post cable clips and tie wraps to create a neat appearance and prevent rolling over the cords during transport.
Installing the cables
-
For storage/transport, place the preamplifier, electrode cables and transducers as shown.
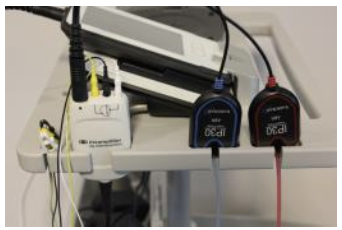
-
For storage/transport, place the probe as shown.
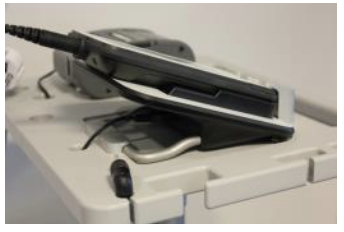
-
For storage/transport, set the plug of power strip into the edge pocket as shown securing any hanging cables in attached bin to prevent rolling over the cord.
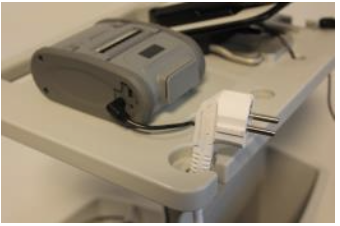
Installing the printer
-
Attach custom plate with the pictured 5/16-18 screws to the printer
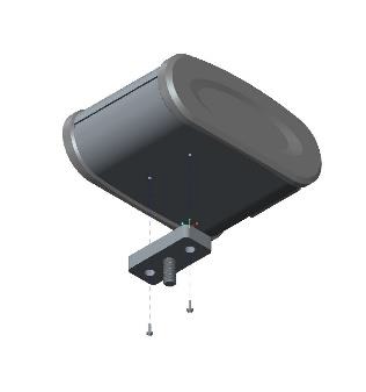
-
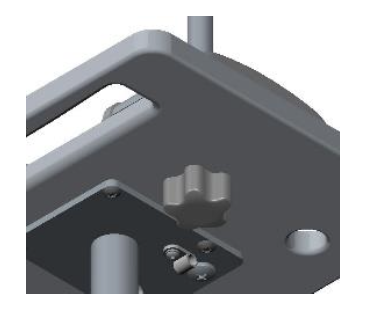
Insert the printer with the custom plate attached into the recess and fasten with the knob.
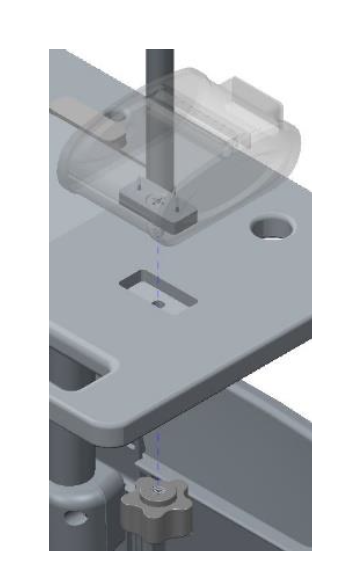
-
Pass the printer power supply cable through the pass-through hole behind the printer and connect it to the charger port on the right side of the printer.
-
Plug the power supply into the power strip securing the cables with the post cable clips and tie wraps to create a neat appearance and prevent rolling over the cords during transport.
Presenter