
Adult Hearing Aid Verification
The purpose of this article is to provide a quick guide for the REM procedure stated by the British Society of Audiology (BSA) for the REM440 Real-Ear Measurement module in the Callisto™ Suite. This quick guide will focus on the method and order of the REM measurements specified by this guideline.
The BSA Clinical Practice Guidelines recommend using the NAL-NL1/NAL-NL2 fitting formulae when performing Adult hearing aid verification. The choice between the use of the REIG (insertion gain) or the REAR (aided response) is at the audiologists' discretion as both methods are accepted verification methods. This Quick Guide assumes that the hearing aid has been programmed accordingly based on patients' needs and hearing loss.
Preparation
- Enter/Select an audiogram from Noah or from the AUD module. If no audiogram is entered or selected, no targets will be displayed.
- Connect probe tubes to the REM reference microphones.
- Click on the Tube Calibration button
 and follow the instructions on the screen, this process ensures that the probe tube is made acoustically invisible - enabling an effective display of the actual gain achieved at the tympanic membrane by the hearing aid.
 - Position the patient approximately 0.5 metres from the REM loudspeaker.
- Perform otoscopy to ensure the ear canal is clear.
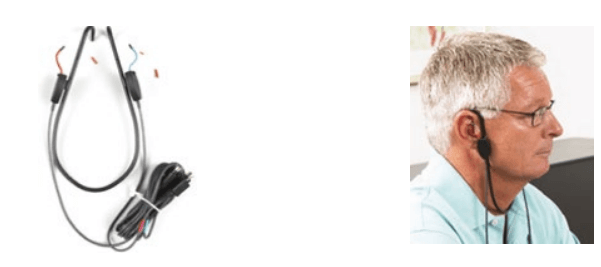
- Snap the REM headsets on the REM headband and place on patient's ear.
Verification using insertion gain (REM Adult UK)
- Choose the REM Adult UK protocol, this is correctly configured according to the BSA Guidelines.
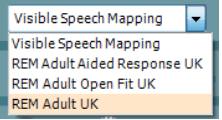
- Choose the appropriate options with in the Fitting Prescription Settings window, which will appear automatically when a REM protocol is chosen:
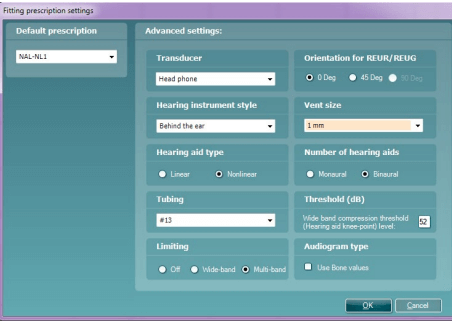
It is here that you will configure your prescription settings to acknowledge aspects of the patients' amplification setup, i.e. venting, mono/binaural, compression method, whether you wish to base your target on their Bone values for mixed and conductive losses. etc. - Select the desired verification signal

It is advised that a calibrated signal such as ISTS is applied. This ensures that the Long Term Average Speech Spectrum (LTASS) level is maintained and is known to provide consistent stimulation intensity throughout the duration of the measurement. - Insert the probe tube in the patient's ear without the hearing aid, you should aim to have this at a length of 27mm from the patients tragus, this ensures that the tube is close to the ear drum.
- Click on REUR, and click on START to measure the Real-Ear Unaided Response (NOTE: The REUR is a required measurement as it is used for the calculation of the REIG, it enables consideration for the patients' natural ear canal resonance).
Effective placement of the Probe Tube is achieved when the response is between 0dB and -5dB at 6kHz. Reposition the tube and re-perform the measure if you cannot achieve this, it will lead to improved measures.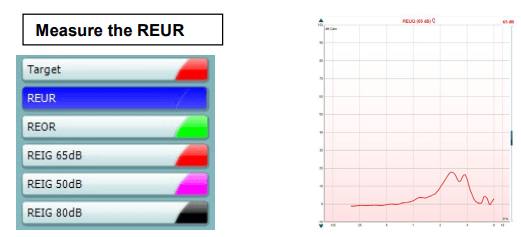
- Place the hearing aid in the patient's ear, but ensure that it is muted.
- Click on REOR and click on START to measure the Real-Ear Occluded Response. The REOR shows the occluding effect of the ear canal in relation to the patients' natural ear resonance. It can also be used as an effective method of checking whether you are blocking the probe tube ahead of beginning your measurements.
- Measure the insertion gain at the desired input level.
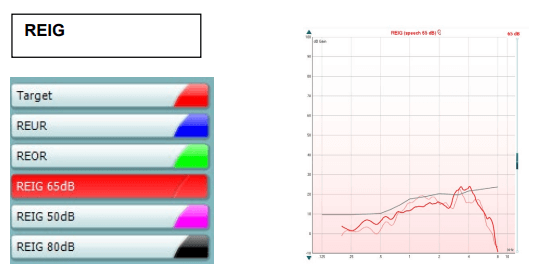
- Fine tune the hearing aid if necessary. Use the On Top mode button
 to minimize the REM screen and to bring it "on top" of the hearing aid manufacturer software.
BSA guidelines advise that you begin at 65dB and then adjust softer (50dB) then louder (80dB) and finally re-check 65dB to ensure that amendment of the soft and loud trimmers haven't drastically altered the response of this stimulus outside of the BSA recommended range
Verification of open fittings (REM Adult Open Fit UK)
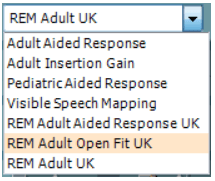
- Choose the REM Adult Open Fit UK protocol:
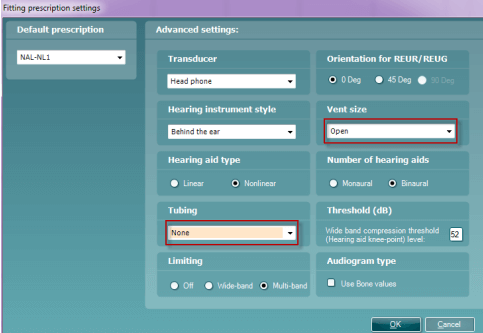
- Choose the appropriate options within the Fitting Prescription Settings window, which will appear automatically when a REM protocol is chosen.
- Select the desired verification signal.

- Insert the probe tube in the patient's ear without the hearing aid.
- Click on REUR, and click on START to measure the Real-Ear Unaided Response
(NOTE: The REUR is a required measurement as it is used for the calculation of the REIG).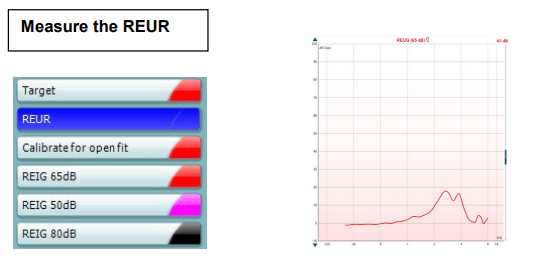
- Perform the Open Fit calibration:
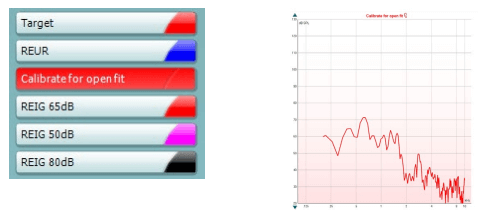
Open Fit Calibration steps
- Position the probe tube in the patient's ear canal.
- Place the hearing aid, connected to the hearing aid fitting software, inside the patient's ear.
- MUTE or SWITCH OFF the hearing aid.
- Choose the stimulus (ex: ISTS) and click on START to perform the calibration. The calibration values will now be stored inside the system and the reference mic will be turned off.
- UNMUTE the hearing aid
- Proceed with Real Ear Measurements.
The purpose of this process is to ensure that the REM system is not actively regulating the output of the stimulus speaker. The reason why we want to disable this is because there is sound leakage from the Open Fitting onto the REM headset's reference microphone. Therefore the stimulus delivered is inaccurate. By storing the distance from the speaker via this measurement the speaker can then stimulate according to that fixed point. It is important to ensure the patient maintains their position during this type of measurement.
Verification using the REAR protocol
- Choose the REM Adult Aided Response UK protocol:
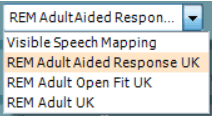
- Choose the appropriate options with in the Fitting Prescription Settings window, which will appear automatically when a REM protocol is chosen:
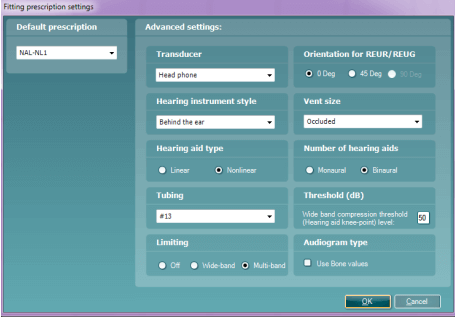
- Select the verification signal.
- Measure the aided response for soft, average and loud
(NOTE: with REAR measurements, it is not necessary to measure the REUG/REUR. However, some clinicians like to use the REUG/REUR as an indication for adequate probe placement.).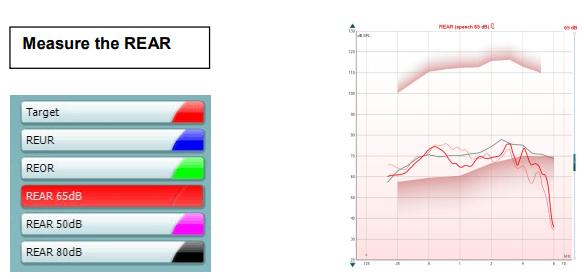
- Fine tune the hearing aid if necessary. Use the On Top mode button to minimize the REM screen and to bring it "on top" of the hearing aid manufacturer software.
Presenter