
AC440 Protocol Setup
Working with individual setups (test protocols)
There are many different demands and wishes regarding how an audiometer should both function and appear depending on the specific situation and national standards. One of the greatest advantages of the AC440 module is the flexibility, enabling you to tailor the system according to your specific preferences in the so-called "test protocols". Below describes basic functionality on how to work with the AC440 Protocols.
Selecting a Test Protocol
- Launch the Affinity Suite from Noah, OtoAccess®, or stand-alone.
- Ensure you are in the AC440 screen. Click on the AUD tab if Audiometry is not the default startup screen.
- Under Protocols and Sessions, both factory test protocols with standard/factory test parameters and personalized test protocols can be selected.
Note: The protocols available in the drop down will depend on whether factory defaults or country specifics defaults were chosen during the installation of the Affinity Suite. Therefore, certain test protocols may be hidden. To hide or un-hide protocols, go to Menu | Setup | Show/Hide Protocols.
The AC440 Main Setup
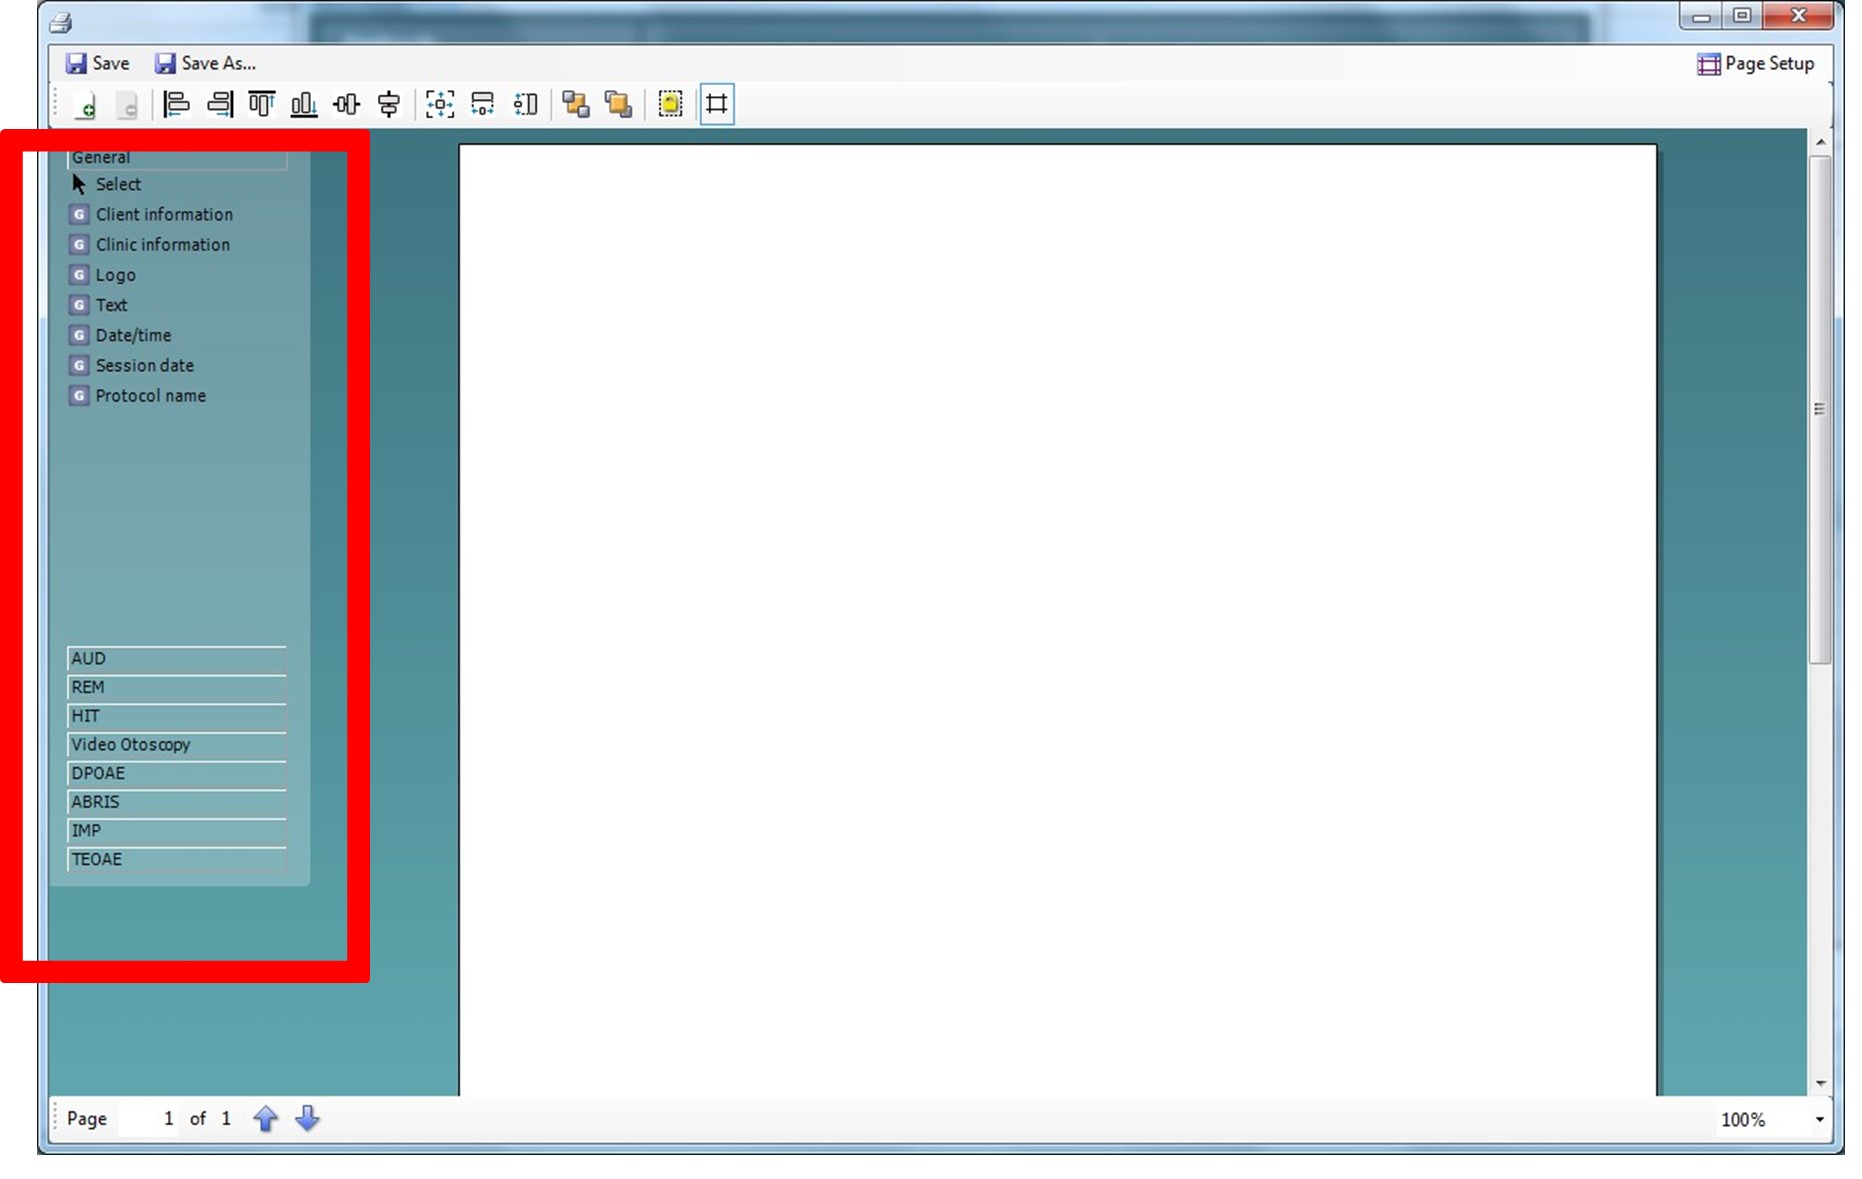
Once in the AC440 Setup, available tests will be listed to the left. Each test can be unfolded to access its options. Each test contains the following options:
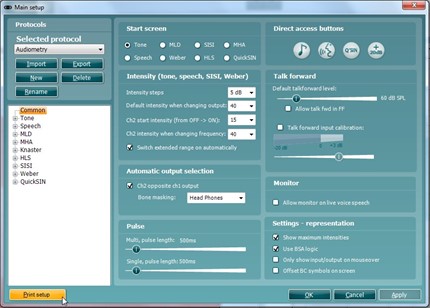 |
Startup: These are the settings in which the test will start up. Common: Allows for setting up more general settings of the specific test. Keyboard: Allows for setting up macros for the dedicated Affinity audiometry keyboard (if this is used). Add-ons: Allows for setting up add-on features/subtests if available for a test. These require a special license. |
NOTE: Some setup screens contain more than one tab offering multiple user controls.
In each setup screen, the following three buttons are found in the lower right corner:
- Clicking OK will close the AC440 setup and save all changes.
- Clicking Cancel will close the AC440 setup without saving any changes made.
- Clicking Apply will save changes but without closing the AC440 Setup. The change will, however, immediately be active and visible on the screen behind the setup dialog.
Creating new protocols/changing a test protocol permanently
- Click Menu | Setup | AC440 setup to enter the Main setup.
- Click New to create a new test protocol.
- A pop up window will appear, asking which settings to copy. Choose the protocol to be copied from the drop down menu and re-name the new protocol. Click Apply.
- The new protocol name will now appear in the list of protocols and it will now be possible to modify the settings. Browse the options and amend as desired.
NOTE: For detailed setup options regarding each individual test available in the AC440, please refer to the Affinity Additional Information documents. - When finished click OK (or Apply) to save the changes.
Changing a test protocol temporarily
To make changes to the setup temporarily:
- From the drop down menu, ensure that the desired protocol to be changed is the chosen one.
- Enter the Temporary Setup by clicking the button in the front screen
 (or alternatively select Menu/Setup/Temporary setup).
 - The Temporary Setup is identical to the Main setup. Browse the setup options to make temporary changes as if creating a test protocol and click OK.
After the temporary changes have been applied, there will be an asterisk (*) beside the protocol name.
Importing and exporting test protocols
The AC440 also allows you to import and export test protocols to other AC440 users.
Exporting a Test Protocol
- Go to the AC440 Setup (Menu | Setup | AC440 setup).
- Click on Export.
- Select if the file is to be saved as "read only". In this case the protocol file is locked and the clinician receiving it will not be able to make changes to it.
- Browse for the location on the PC or USB where the test protocol is to be saved.
- Click Save. Other AC440 users will now be able to upload the test protocol using the Import function.
Importing a test protocol
- Go to the AC440 Setup (Menu | Setup | AC440 setup).
- Click Import and browse to the location on the PC or USB where the test protocol file has been saved.
- Click Open.
- The test protocol will then appear under Name.
- After saving it by clicking OK the test protocol can be selected in the List of defined protocols in the front screen.
NOTE: If the protocols were exported as "Read Only", imported protocols will not be able to be imported edited.
Presenter